
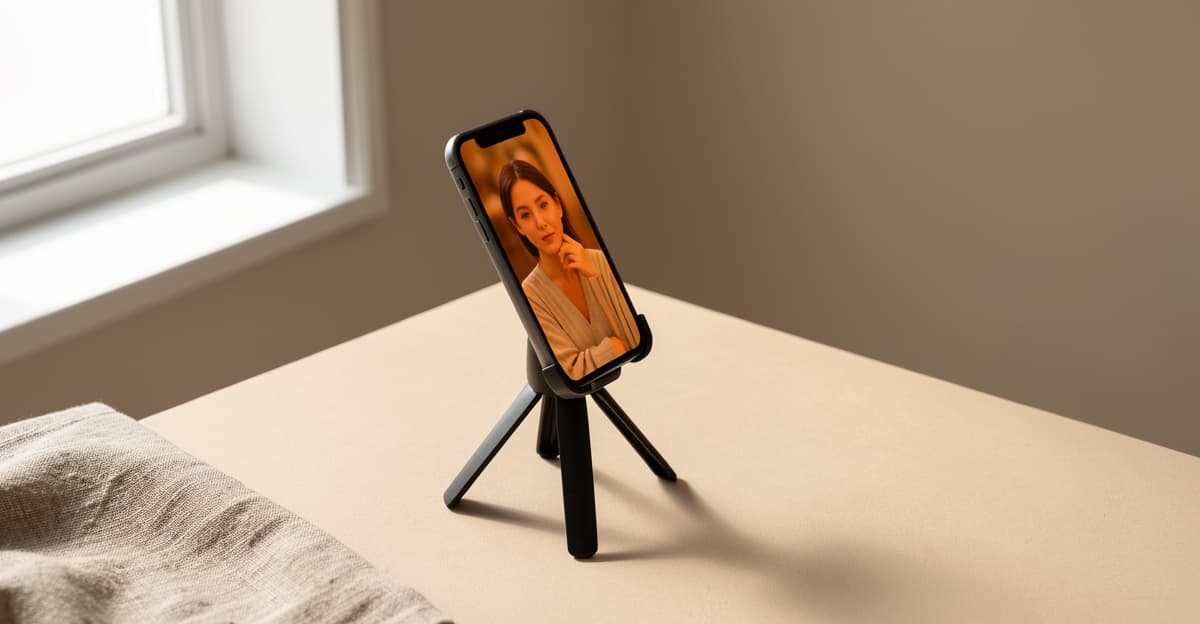
iPhone Portrait Mode Tips for Studio Quality Photos
Unlocking Mobile Depth Control
TL;DR: To achieve studio-quality iPhone portrait mode shots with clean edge separation, maintain a camera-to-subject distance between 2 and 8 feet, position subjects at least 3–5 feet away from background walls, and manually adjust exposure tap-focus to avoid software over-sharpening.
Modern smartphone cameras simulate shallow depth of field using advanced hardware and computational photography. When you trigger Portrait Mode, the camera creates a dual-channel recording consisting of a standard color image and a geometric depth map. Understanding how your device calculates distance is essential for achieving clean subject separation without digital artifacts.
On higher-end devices, hardware like LiDAR sensors measures the time light takes to bounce off objects, generating precise depth coordinates in low or complex lighting. Devices using dual camera modules compare slight perspective offsets between lenses to map distance. Single-lens hardware relies entirely on machine learning algorithms trained to identify human faces and body outlines.
To capture clean depth separation, physical spacing remains critical. When a subject stands directly against a flat wall, camera software struggles to calculate distinct spatial layers. Creating physical distance between your subject and their background allows the phone to render a progressive, natural bokeh effect.
If you want to master fundamental composition and lighting controls on your smartphone, explore our detailed guide on Explore more phone photography guides to refine your core shooting workflow.
Actionable iPhone Portrait Mode Tips for Sharper Edges
Edge detection artifacts remain the primary challenge in computational portraiture. Frayed hair strands, clear glass frames, and complex fabric textures frequently confuse depth calculation software, causing unnatural blur cutouts around subjects. Implementing systematic shooting habits eliminates these common software mistakes.
Maintain an optimal camera-to-subject distance between 2 and 8 feet. Standing closer than 2 feet causes spatial distortion around facial features, while stepping beyond 8 feet prevents depth mapping from activating. Pay close attention to visual interface feedback; wait for the yellow frame indicator to confirm that spatial tracking is active.
[SCREENSHOT: iPhone camera app view showing the yellow Portrait indicator frame locked onto a subject]
Lighting quality directly dictates edge precision. In low ambient light, camera sensors reduce depth map resolution to prevent noise, leading to jagged software cutouts. Position your subject near soft directional light sources, such as an open window or shaded outdoor space, to maintain crisp subject boundaries.
Be mindful of visual background patterns. High-contrast grids, chain-link fences, and busy tree branches behind fine hair strands often create calculation errors. Shift your camera perspective slightly to align your subject against a neutral, high-contrast backdrop.
Mastering Focal Lengths and Digital Aperture
Selecting the right focal length fundamentally changes facial geometry and background compression. Modern mobile devices offer multiple optical focal choices within Portrait Mode, typically ranging from 1x wide lens views to 2x or 3x telephoto optical options.
The 1x option captures environmental context but introduces subtle wide-angle distortion when held close to a subject face. Utilizing 2x or 3x optical options compresses background elements, bringing distant details closer while keeping facial proportions balanced and accurate.
[SCREENSHOT: Camera app focal length selector button highlighting 3x lens choice]
You can manually adjust the intensity of background blur before or after capturing an image. Tap the f-stop icon in the upper corner of the camera interface to reveal the Digital Aperture slider. The software defaults to an f/4.5 blur simulation.
Dragging the slider down to f/1.4 produces intense background blur, but it increases the risk of clipping edges around ears or clothing boundaries. Setting the digital aperture between f/4.0 and f/5.6 produces a realistic bokeh curve that preserves sharp subject detail while softly blurring background distraction.
Utilizing Portrait Lighting Modes
Integrated Portrait Lighting profiles allow you to simulate studio lighting environments without carrying external flash gear. These profiles re-map tonal values across facial features in real time using depth maps.
Natural Light maintains standard image tones while applying background blur. Studio Light brightens facial details subtly, mimicking soft beauty reflectors to lift harsh shadows under eyes and chin structures. Contour Light accentuates high points on the face by introducing sculpted side shadow contrast.
[SCREENSHOT: Portrait Lighting selection wheel highlighting the Studio Light mode setting]
Stage Light and Stage Light Mono isolate subjects entirely by converting background elements into solid black space. While dramatic, these high-contrast lighting settings require distinct physical separation and strong key lighting to render clean edges without dark cutout gaps.
To fine-tune these lighting treatments, select the lighting adjustment dial in capture mode. You can adjust computational light intensity from 0 to 100 percent, controlling shadow depth and specular highlight brightness to match your scene.
Editing Depth Points and Reframing
One advantage of mobile depth photography is full non-destructive editing capability. On modern operating systems, you can alter focus targets, modify blur strength, and switch lighting profiles long after shutter release.
Open any saved portrait image inside the native Photos app and select Edit. Tap anywhere on the image plane to redirect primary focus. If the initial capture locked onto a background object rather than eyes, tapping the pupil shifts sharp focus instantly while recalculating depth planes.
[SCREENSHOT: Photos app edit interface showing direct manual focus point reassignment]
If software edges appear unnatural, you can turn off depth mapping entirely. Tapping the yellow Portrait toggle at the top of the editing screen converts the file back into a standard high-resolution photograph with original lens focus.
After finalizing your depth field and exposure values, applying consistent color styling brings professional polished tonal quality to your mobile photo library. Read our breakdown on Explore more editing preset guides to establish clear visual tones across your portolio.
Non-Human Subjects and Product Shots
Portrait Mode is not limited strictly to human headshots. Food presentation, product design, and architectural details benefit from controlled depth separation when approached with correct technique.
When photographing pets, optical algorithms can struggle with textured fur edges. Ensure strong key light enters the eye to lock tack-sharp focus on the pupil. Keep whiskers clear of distracting background lines to help edge algorithms separate fur patterns naturally.
For still life or product photography, keep at least 3 feet of working distance to avoid lens distortion. Tap directly on the front-most edge of your subject to lock focus, and raise the digital aperture to f/5.6 to ensure the full product depth remains in sharp focus against a blurred background.
Essential Field Checklist
- Position subjects 2 to 8 feet from the camera lens.
- Maintain at least 5 feet of space between subject and background walls.
- Select 2x or 3x optical focal options to prevent wide-angle facial distortion.
- Keep digital aperture settings between f/4.0 and f/5.6 for natural blur gradients.
- Position primary light sources from the side to assist computational depth mapping.
- Re-check and adjust eye focus points inside the Photos editor before publishing.

Written by S.Sandaruwan
Tested by experienced digital photographers and prompt engineers. Every AI prompt, camera parameter breakdown, and editing preset is rigorously benchmarked across rendering engines and physical hardware.
You Might Also Like
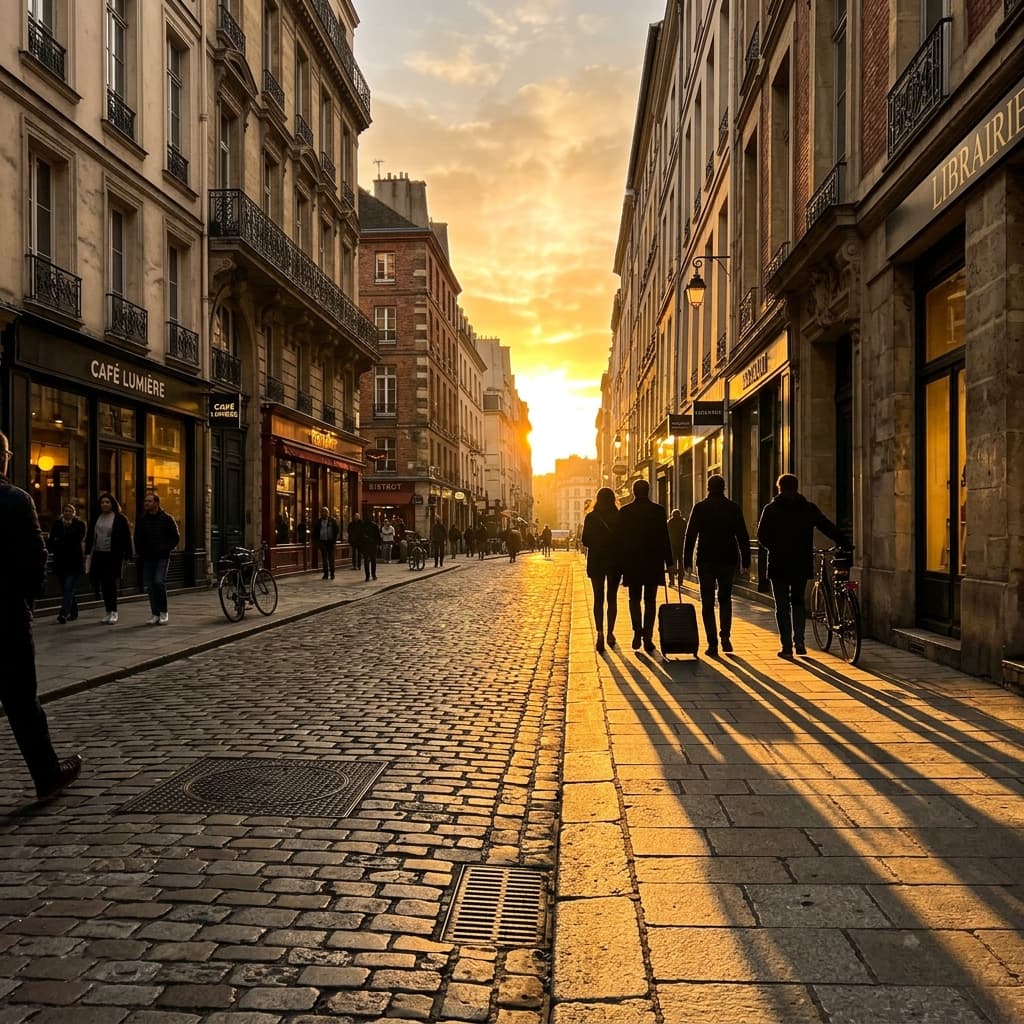
Golden Hour Phone Photography: The Complete Guide
Master golden hour photography with your smartphone. Timing, composition, exposure techniques, and editing tips for warm, cinematic shots.
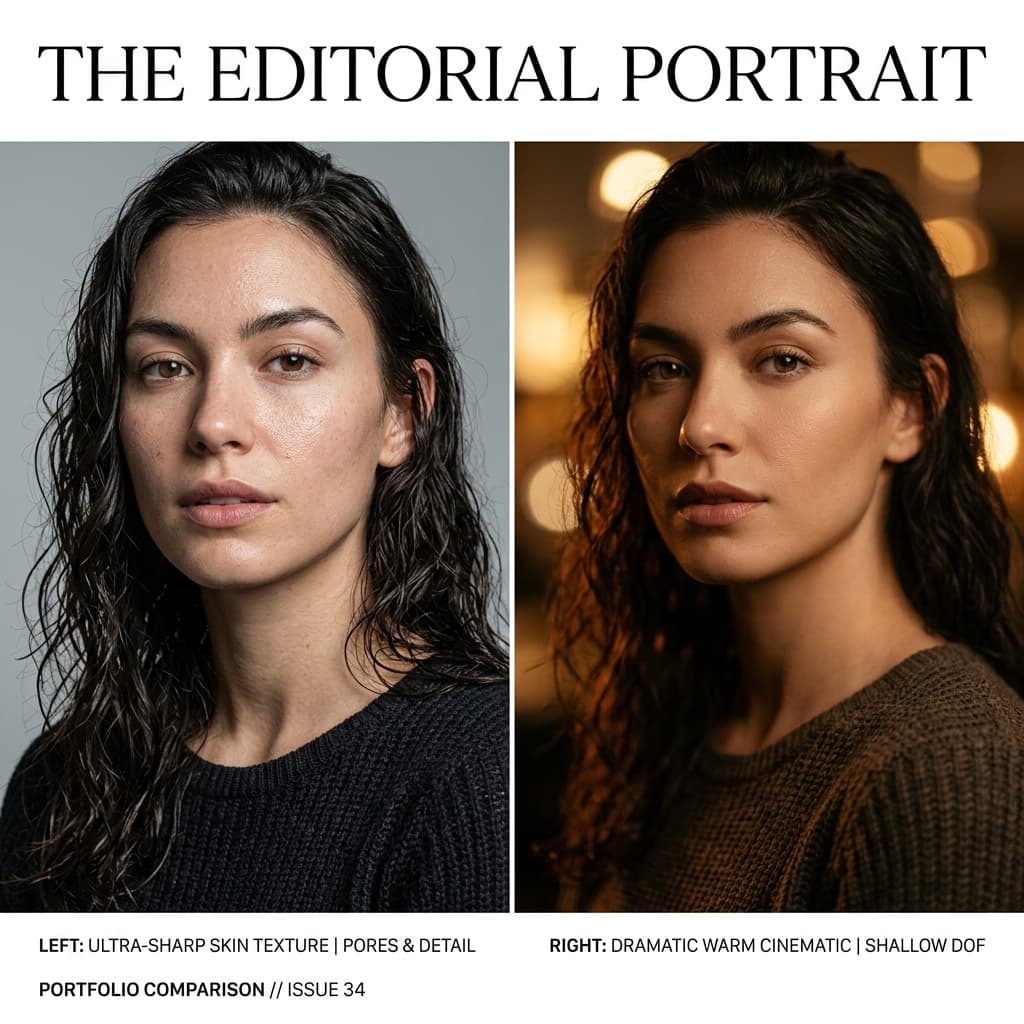
FLUX.1 vs Midjourney v7 for Photorealistic Portraits: Prompt Engineering & Lighting Comparison
An in-depth comparison of FLUX.1 and Midjourney v7 for photorealistic AI portraits. Explore camera syntax, lighting setups, skin texture parameters, and prompt engineering.
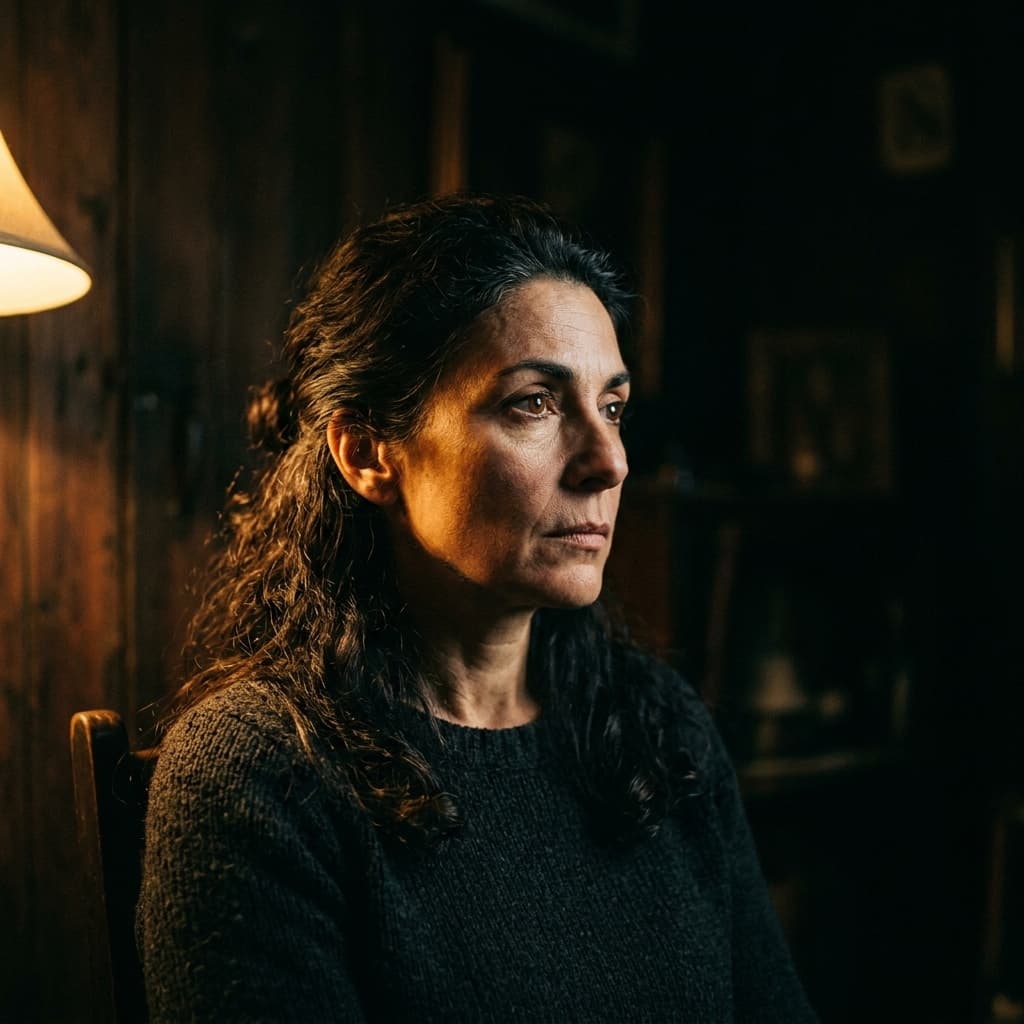
20 Cinematic Portrait Prompts for Midjourney v7
20 tested cinematic portrait prompts for Midjourney v7, grouped by mood, with sample renders and copy-paste prompt text for immediate use.
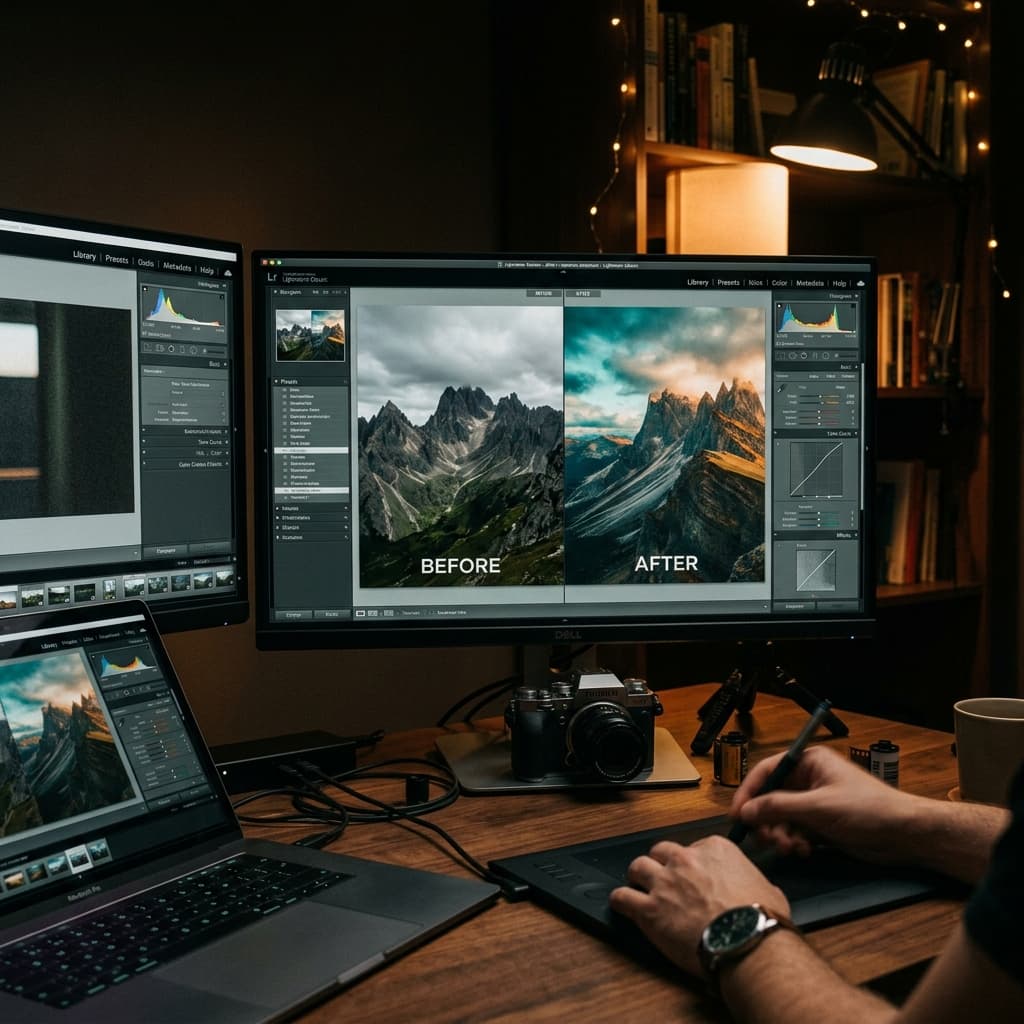
Film Look Lightroom Presets: Free Pack with Build Notes
Download 5 free film-emulation Lightroom presets with full build notes explaining every slider choice so you can adapt them to your style.