
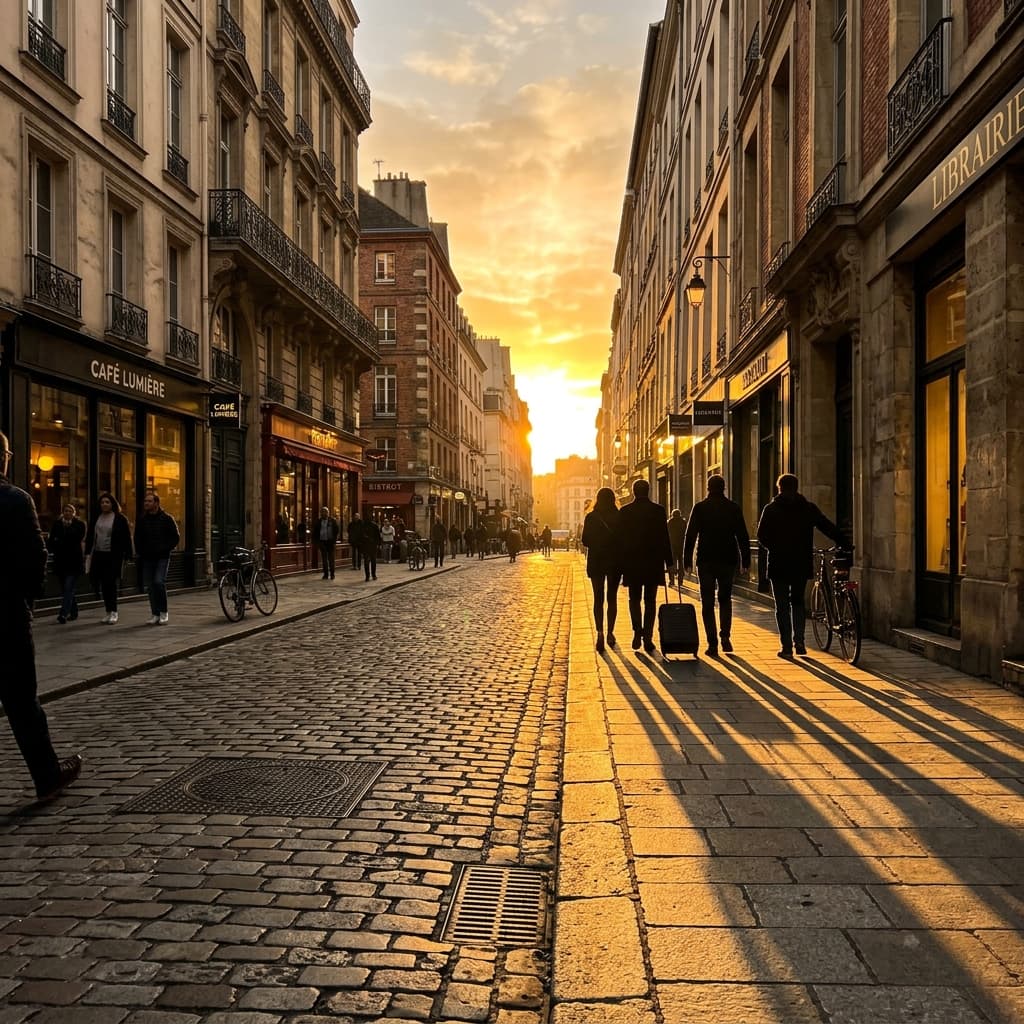
Golden Hour Phone Photography: The Complete Guide
What Makes Golden Hour Special
TL;DR: Golden hour occurs during the 30–60 minutes immediately following sunrise or preceding sunset, when low-angle directional sunlight soft-filters highlights and reduces camera sensor contrast. To shoot it on a smartphone, lock AE/AF exposure on the brightest highlights, lower exposure by -0.7 EV for rich amber tones, and shoot with the sun at a 45-degree angle to your subject.
Golden hour - the period roughly 30 to 60 minutes after sunrise and before sunset - produces warm, directional light that flatters every subject. Shadows stretch long, highlights glow amber, and the overall contrast drops enough to capture detail in both bright and dark areas without HDR processing.
Your phone's small sensor actually benefits here. The softer light reduces the harsh dynamic-range challenges that plague phone cameras in midday sun, producing images that look closer to what a dedicated camera would capture.
When Exactly Is Golden Hour and How Do You Find It?
The exact timing varies by latitude and season. Use one of these approaches:
- The Golden Hour Calculator (free app on iOS and Android) - enter your location and it gives you the precise window for both morning and evening golden hour.
- Sun Surveyor - shows the sun's path overlaid on your camera view, so you can visualize where light will fall before it happens.
- The manual rule: on a clear day, start shooting when the sun is about two finger-widths above the horizon (hold your hand at arm's length). You have roughly 30–45 minutes from that point.
Arrive at your location 15 minutes early. Golden hour moves fast, and the best light often lasts only 10–12 minutes at the very end.
Camera Settings for Phone Shooters
Modern phones handle golden hour well in auto mode, but manual adjustments produce noticeably better results:
Exposure Lock
Tap and hold the brightest part of the sky to lock exposure there. This intentionally underexposes the foreground, creating richer, more dramatic silhouettes and preventing the sky from blowing out to white.
White Balance
Auto white balance will try to "correct" the golden tones back to neutral. Override it:
- iPhone: Use a third-party app like Halide or ProCamera and set white balance to approximately 5500K–6000K (daylight), which preserves the warmth.
- Android: Most Samsung and Pixel phones have a "Pro" mode - set WB to Daylight or Cloudy.
Shooting in RAW
If your phone supports RAW capture (Apple ProRAW, Samsung Expert RAW, Pixel Camera), use it during golden hour. The extra data in highlights and shadows gives you significantly more editing flexibility later.
Composition Techniques That Work
Leading Lines with Long Shadows
Golden hour shadows stretch 5–10 times the height of the object casting them. Use them as natural leading lines that guide the viewer's eye through the frame.
How to do it: Position yourself so that shadows run diagonally across the frame, from a near corner toward the subject.
Rim Light & Backlight
Shoot toward the sun (backlit) to create a glowing rim of light around your subject. This separates them from the background and produces a professional-looking halo effect.
How to do it: Place the sun directly behind your subject. Tap to expose for the subject's face (not the sky), then fine-tune with the exposure slider.
Flare as a Feature
Lens flare from a phone's multi-element lens stack can look beautiful during golden hour if you lean into it intentionally.
How to do it: Partially occlude the sun behind a building edge, tree, or your subject's head. The flare streaks add energy to the composition rather than looking like an accident.
Silhouettes
The simplest golden hour technique and often the most dramatic.
How to do it: Expose for the sky (tap the brightest area), let the foreground go completely black, and compose a recognizable outline - a person, a bicycle, a tree - against the colored sky.
Editing Golden Hour Shots
The goal is to enhance the warmth and mood without making the image look artificially orange.
Basic Adjustments
- Highlights: Pull down 15–25% to recover sky detail.
- Shadows: Lift 10–20% to add subtle detail in dark areas without losing the mood.
- Warmth/Temperature: Add 5–10% warmth if the camera's auto white balance neutralized the golden tones.
- Vibrance (not Saturation): A small vibrance boost (10–15%) enriches muted colors without making skin look unnatural.
The Film-Look Finish
For a cinematic feel, add a subtle fade to the blacks: in Lightroom or Snapseed, lift the black point slightly so the darkest tones become a deep charcoal rather than pure black. This emulates how film negative stocks render shadow detail.
Common Mistakes to Avoid
- Shooting too late: Once the sun drops below the horizon, you're in blue hour - beautiful in its own right, but a completely different look. Don't try to make blue-hour shots look golden in editing.
- Over-saturating: The natural colors of golden hour are already vivid. Pushing saturation too high makes skin look orange and sky look radioactive.
- Ignoring the other direction: While the sky near the sun is dramatic, the light falling on subjects facing the golden light (front-lit) produces warm, even illumination that's incredibly flattering for portraits.
Build a Golden Hour Habit
The best way to improve is to shoot golden hour consistently - twice a week for a month. Your eye will start to anticipate how light moves, and you'll instinctively know which compositions work in the 12-minute window when the light is at its absolute peak.

Written by S.Sandaruwan
Tested by experienced digital photographers and prompt engineers. Every AI prompt, camera parameter breakdown, and editing preset is rigorously benchmarked across rendering engines and physical hardware.
You Might Also Like
iPhone Portrait Mode Tips for Studio Quality Photos
Discover actionable iphone portrait mode tips to elevate your mobile photography. Learn edge separation, focal lengths, and post-editing depth control.
FLUX.1 vs Midjourney v7 for Photorealistic Portraits: Prompt Engineering & Lighting Comparison
An in-depth comparison of FLUX.1 and Midjourney v7 for photorealistic AI portraits. Explore camera syntax, lighting setups, skin texture parameters, and prompt engineering.
20 Cinematic Portrait Prompts for Midjourney v7
20 tested cinematic portrait prompts for Midjourney v7, grouped by mood, with sample renders and copy-paste prompt text for immediate use.
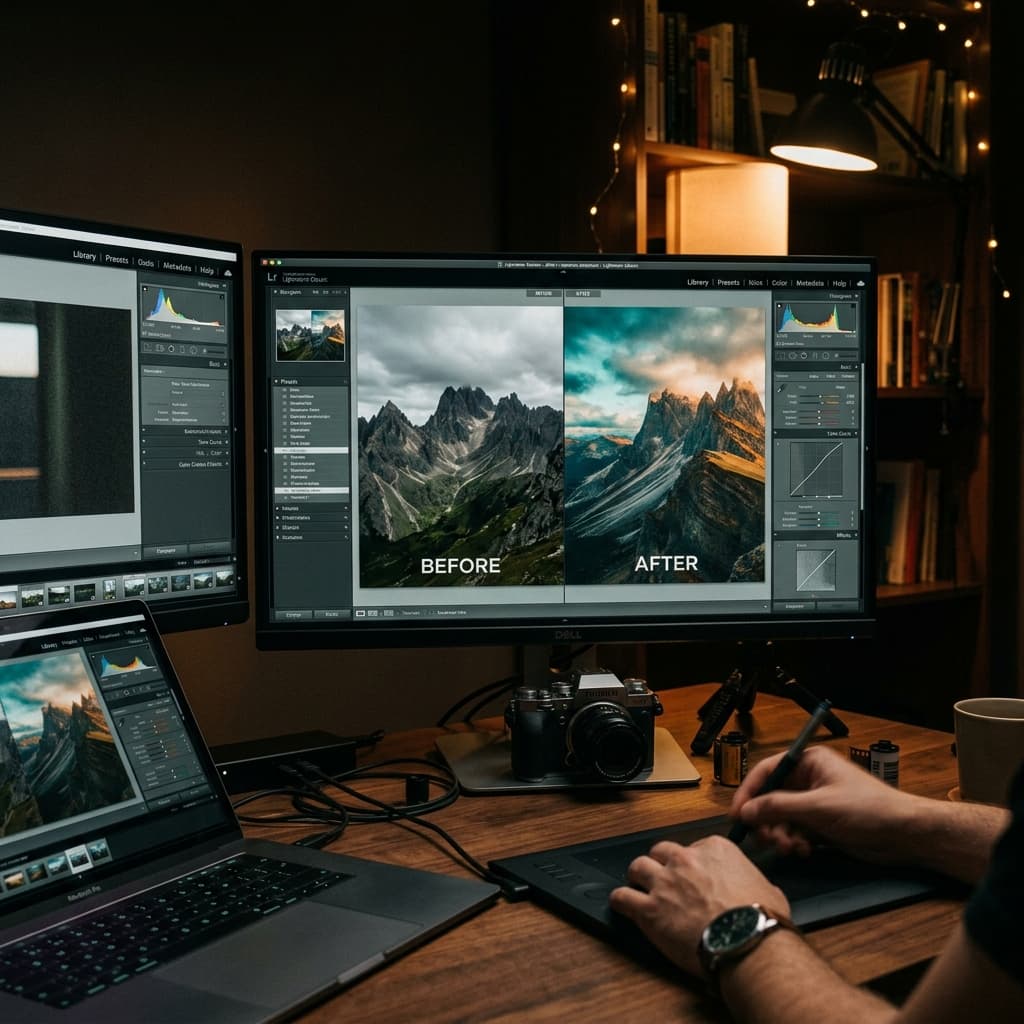
Film Look Lightroom Presets: Free Pack with Build Notes
Download 5 free film-emulation Lightroom presets with full build notes explaining every slider choice so you can adapt them to your style.